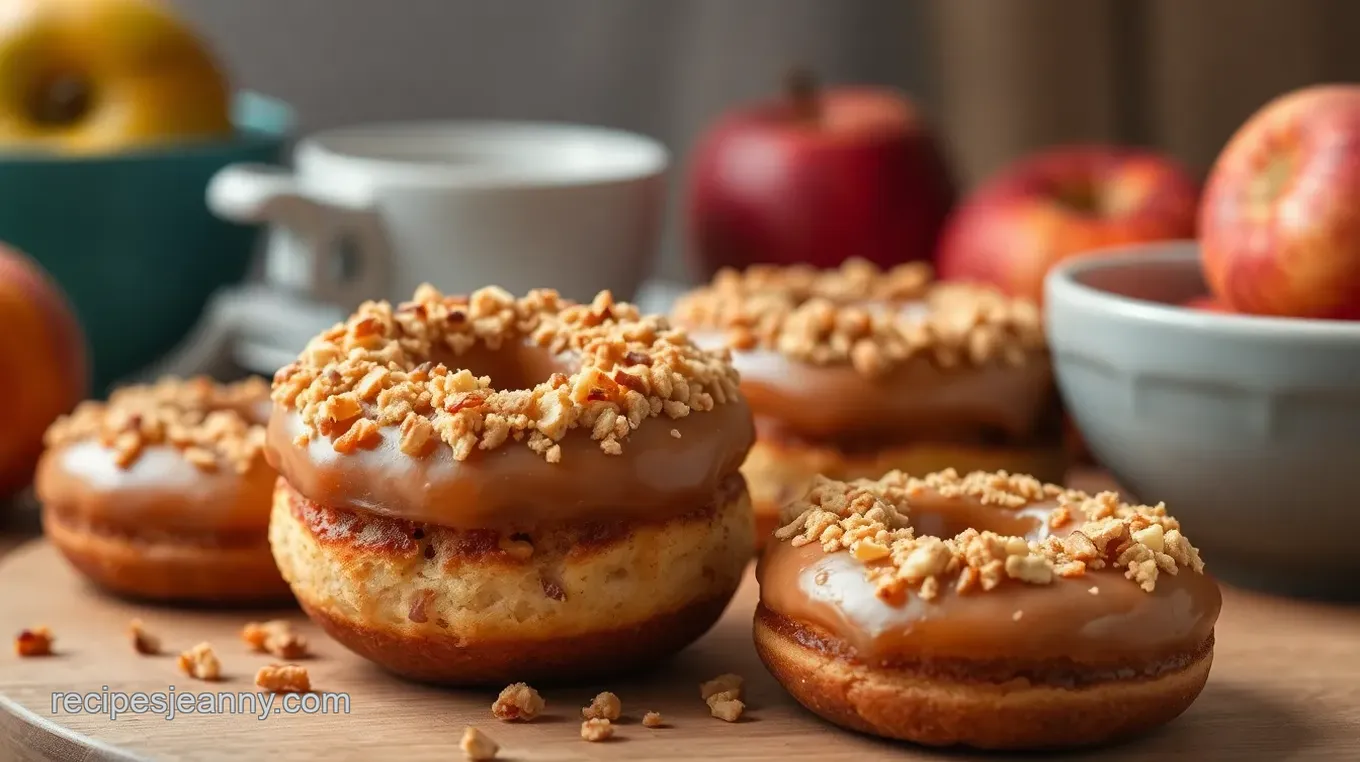
Baked Apple Cider Donuts with Crunchy Topping
Craving cozy and moist Baked Apple Cider Donuts with Crunchy Topping? Enjoy this simple recipe that captures the essence of autumn. Deliciousness awaits!

A Taste of Fall: Baked Apple Cider Donuts with Crunchy Topping
Have you ever taken a deep breath of air on a crisp autumn day, just after the leaves have fallen, and thought, “i need something warm and delicious to go with this”? oh my gosh, i live for those moments! and nothing captures that cozy feeling quite like baked apple cider donuts with crunchy topping .
Honestly, there’s just something magical about biting into a warm donut that’s bursting with apple flavor and topped with a perfect cinnamon sugar blend.
The Sweet Roots of Our Favorite Treat
These little beauties aren’t just a convenient snack; they have a rich history. apple cider donuts traditionally made their rounds in new england, often found in charming apple orchards during harvest season.
It makes total sense, right? you’ve got fresh apples and cider flowing, so why not toss in a donut or two? today, they still reign as one of the most popular autumn dessert ideas across the u.
S.
Now, let’s break it down. this recipe? it’s a breeze. you’ll be spending about 30 minutes from start to finish, including prep time and bake time.
I call that a win during the busy fall season. not too mention, this recipe yields approximately 12 scrumptious donuts —enough to share with the family or keep all to yourself for a week of sweet breakfast treats!
Why Baked Apple Cider Donuts are a Must-Try
Okay, let’s dive into why these donuts kick other recipes to the curb. first off, they give you the classic donut texture without the guilt that comes with frying.
Yep, we’re talking healthy donut alternatives here! made with wholesome ingredients like fresh apple cider, nutmeg flavor donuts have all the sweetness you love but feel a tad lighter.
That crunchy topping? it’s basically a warm hug in every bite.
Per serving nutritional information typically looks like this: around 160 calories , 2g of protein, and a decent amount of flavor without feeling overload.
Plus, they’re versatile! they can be served fresh out of the oven paired with your favorite morning coffee or even enjoyed later as a cozy fall snack.
They’re perfect for book clubs, relaxed family sundays, or any get-together where you want to impress guests.
Making Memories with Donuts
Let’s be honest, creating donut recipes from scratch can feel a little daunting. but that’s the beauty of this easy baked donut recipe —it’s meant for all skill levels! i remember the first time i tried baking donuts at home.
My kids were practically bouncing off the walls, begging to join in. we spent our afternoon mixing and laughing, and those donuts? they turned out better than i hoped! plus, we ended up with a batch of delicious apple cider donuts from scratch that disappeared in no time.
A little tip: use quality apple cider for the best flavor. it makes a world of difference! and remember, simple baking techniques are your friend—don’t worry about being perfect.
If your donuts don’t look instagram-ready, who cares? your taste buds will sing anyway.
Ready to Bake?
Now that you’re ready to dive into making these delightful baked apple cider donuts with crunchy topping, let’s gather your ingredients! get ready for that cozy fall vibe in your kitchen.
You’ll be whipping up these donuts in no time, and oh boy, they will be a hit! perfect for a family get-together, or a quick weekend treat—i guarantee they’ll be the star of the show.
So grab your donut pan and let’s get baking! you won't just make some tasty treats; you'll create memories that last a lifetime.
Ready to see what goes into these mouthwatering donuts? let's go!

Your Go-To Guide for Essential Ingredients
Baking is like a dance, and the right ingredients are your partner. let’s break down the essentials for whipping up some delightful treats, like baked apple cider donuts with crunchy topping .
You’ll be dancing in the kitchen in no time!
Premium Core Components
First, let’s get into those premium core ingredients ! Measuring accurately can be the difference between a flop and a showstopper. For those classic Baked Apple Cider Donuts , you'll need:
- Flour : 2 cups (250g) all-purpose flour.
- Apple Cider : 1 cup (240ml) of the good stuff – think fresh and zesty.
- Baking Powder : 1 teaspoon for that lift.
- Baking Soda : 1 teaspoon to help things rise.
- Cinnamon : 1 teaspoon for that cozy flavor.
- Nutmeg : ½ teaspoon for a little twist.
- Salt : Just a pinch (½ teaspoon) to balance sweetness.
- Sugar : Granulated, of course! You need ½ cup (100g) for the donuts, plus more for that crunchy topping!
Now, pay attention to quality indicators. fresh spices make a world of difference. when it comes to storage, keep your ingredients in a cool, dry place.
Most spices can last up to 1-2 years if stored correctly, but trust your nose! if it smells off, toss it.
Signature Seasoning Blend
Ahh, signature seasoning —it's where the magic happens! Apart from our lovely cinnamon and nutmeg, consider a few spice combos for variations:
- Pumpkin Spice : Who doesn’t love that fall flavor? A mix of cinnamon, nutmeg, and cloves makes for a warm twist!
- Cacao Powder : For those chocolate cravings, cocoa can add depth.
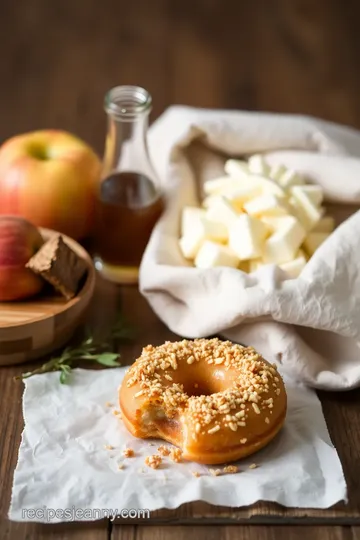
Herbs also play a role. Rosemary with apples is not your typical pairing, but hey, give it a shot! Just remember, use what complements the main ingredient.
Smart Substitutions
Sometimes, life happens. Maybe you're out of apple cider. Or maybe you're trying to whip up a healthy donut alternative ? Worry not! Here are some smart substitutions :
- Apple Juice : This can step in when you’re out of cider.
- Gluten-Free Flour : If you need to cater to dietary needs, a gluten-free blend will do the trick.
- Greek Yogurt : Use it instead of butter for a lighter option. Trust me; you won’t miss the heaviness!
And if you’re in a pinch, don’t fret! Just keep calm and grab the closest similar ingredient. Cooking is all about adapting!
Kitchen Equipment Essentials
A well-stocked kitchen is like having a little culinary toolbox. Invest in some must-have tools :
- Donut Pan : This is key for any baked donut recipe! No one wants sad-looking fritters.
- Mixing Bowls : Different sizes for different stages.
- Measuring Cups : Accurate measurement is crucial, y’all.
And don’t forget about storage solutions! Airtight containers keep your baked goods fresh for a good 3 days on the counter, or up to a week in the fridge .
Baking is an art, but it’s also about comfort. when you’re making baked apple cider donuts with crunchy topping , you’re reaching for that cozy feeling.
Picture this: a crisp autumn afternoon, your house smells like sweet cinnamon, and you’re about to enjoy a sweet breakfast treat .
Sounds good, right?
To those of you eager to dive into the world of homemade donuts with apple cider , remember: it’s not just about the end result, but the joy of baking itself.
Now, let’s channel that excitement into the upcoming step: actual recipes! buckle up, friends; it’s time to get those hands dirty!

Unlocking the Secrets of Professional Cooking at Home
So, you’ve decided to step up your kitchen game and dabble in some professional cooking methods? i get it. we all want that instagram-worthy plate that looks like it just came out of a fancy restaurant! let’s break it down step-by-step, making it as easy as pie—or, in this case, baked apple cider donuts with crunchy topping .
Essential Preparation Steps
Before you dive into the cooking process, let’s get real about preparation. if you’re aiming for that pro vibe, mise en place is your new bff.
It’s just a fancy way of saying you should have everything prepped and ready to go. chop up those ingredients, measure out your spices, and have everything on standby.
Trust me, it saves a ton of time and stress!
Time management is also key! set a timer—if a recipe says bake for 12- 15 minutes , make sure you're peeking in there at about 12 .
Ovens can be shady, and we don’t want burnt donuts.
Now, organization strategies go hand in hand. keep your workspace clean, and don’t forget to designate spots for dirty dishes.
Nothing ruins the vibe faster than looking at a pile of pots when you’re trying to enjoy your freshly made donuts!
But safety considerations are where i want to shout loud and clear: be careful with that oven, my friend! use oven mitts and be aware of any hot surfaces around you.
Nobody wants a burnt finger, right?
Step-by-Step Process
Alright, let’s roll into the actual cooking part. Here’s how to whip up those Baked Apple Cider Donuts :
-
Preheat the Oven : Set it to 350° F .
-
Prepare the Donut Pan : Grease it up. I like to use spray, but butter works too.
-
Mix Dry Ingredients : In one bowl, whisk 2 cups of flour , baking powder, baking soda, cinnamon, nutmeg, and salt.
-
Mix Wet Ingredients : In another bowl, combine 1 cup of apple cider , melted butter, sugar, eggs, and vanilla.
-
Combine Mixtures : Stir the wet into the dry gently. Don't get crazy! Overmixing is a no-no.
-
Fill the Donut Pan : Spoon that batter in, filling each cavity ¾ full .
-
Bake : Pop those babies in for 12- 15 minutes . Insert a toothpick—if it comes out clean, you're golden!
-
Cool : Let them chill in the pan for 5 minutes , then transfer to a wire rack.
-
Crunchy Topping : Mix sugar and cinnamon, brush warm donuts with butter, and dunk 'em!
-
Serve and Enjoy : They’re best warm, but who are we kidding? You’ll be munching on them at any temperature!
Expert Techniques
Now let’s level up! One of the pro methods is knowing those critical steps—I’m talking about checking your oven’s temperature. An oven thermometer can save your life… or your donuts!
When you dip into the sugar-cinnamon mixture, make sure the donuts are warm. Cold donuts won’t take that topping like a champ.
And if you run into trouble—say, they’re too dense or dry? Resist the urge to toss them. You can always transform those fails into bread pudding or maybe even a trifle!
Success Strategies
Let’s avoid those rookie mistakes. First, don’t overmix! . Second, check your doneness early. Nothing ruins a cozy fall snack faster than a dry donut.
For quality assurance, sample one right out of the oven. This is a must, especially with those cozy autumn flavors in play—trust me, your taste buds will thank you.
Have leftovers? Keep them in an airtight container— seriously , they’ll stay fresh up to three days!
And pro tip: if you make ahead, don’t glaze your donuts until you’re ready to serve them. The crunch will hold out better that way!
There you have it! your guide to professional cooking methods at home, topped off with a delicious recipe for baked apple cider donuts with crunchy topping .
Next, let’s look into some additional information about these fall treats—nutritional info, maybe variations, and even more baking tips to keep those cozy vibes rolling!

Baked Apple Cider Donuts with Crunchy Topping: Delightful Tips and Tricks
Pro Tips & Secrets
First off, let me tell ya, baking these baked apple cider donuts from scratch is a total joy! here are a few of my personal insights to get you there faster and tastier.
Start with fresh apple cider . Seriously, this step is crucial. The richer it is, the better your donuts will taste. It’s like hitting the flavor lottery!
Time-saving techniques? oh, i’ve got you covered. instead of mixing your dry and wet ingredients separately, whisk them in the same bowl.
Just make sure to fold gently ! overmixing will give ya dense donuts, and nobody wants that.
Now, let’s chat about flavor enhancement . A little sprinkle of nutmeg really compliments that warm cinnamon vibe. Go ahead; throw in a pinch, it’ll elevate your taste game!
And don’t skimp on presentation . once those donuts cool down, brush on some melted butter and dive them into a mix of sugar and cinnamon for that crunchy topping.
Presentation matters—trust me, your friends will swoon!
Perfect Presentation
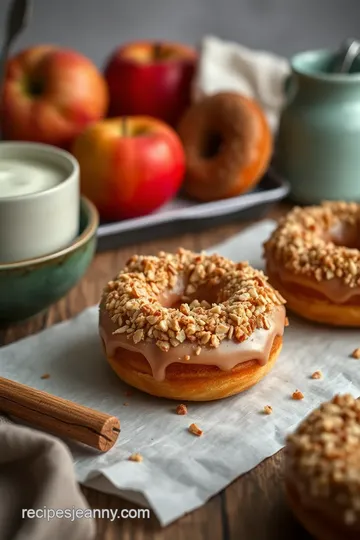
Okay, now on to the fun part: plating techniques ! arrange your donuts on a cake stand or a simple plate (we all know donuts should take center stage).
Use a bit of parchment paper beneath them for that extra flair. totally instagrammable!
When it comes to garnish ideas , think about some thin apple slices or even a sprig of mint. it adds that “wow” factor.
Color combinations ? try contrasting colors such as bright green apples against warm golden-brown donuts—gorgeous!
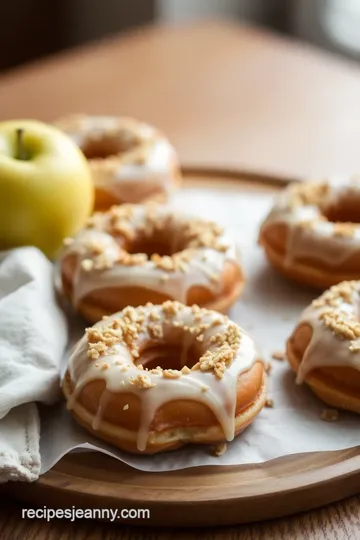
Big tip for visual appeal: stack a few donuts on top of each other and drizzle with a simple glaze. It just screams, “Come taste me!”
Storage & Make-Ahead
So, you’re thinking of making these beauties in advance? smart move! these donuts can hang out in an airtight container for up to 3 days .
If you wanna keep them around longer, stick them in the freezer and they’ll be good for a month. just make sure to wrap them well!
Reheating instructions? Easy! Pop them in the microwave for about 10-15 seconds to warm them up. You'll feel like you just pulled them out of the oven!
Creative Variations
Feeling adventurous? let’s explore creative variations for our donuts. how about swapping the cinnamon sugar topping for a maple glaze ? talk about a game changer! or mix in some walnuts or pecans for that crunchy goodness.
And for my health-conscious friends out there, try creating healthy donut alternatives by using whole wheat flour instead of all-purpose. You could even go for a sugar substitute if that’s your jam!
Seasonal twists can be a hit too! Think pumpkin spice during October, or how about adding some cranberry zest for a holiday spin? There’s a world of flavor to play with, so have fun!
Complete Nutrition Guide
Let’s finish up with a quick nutrition guide . each of these delightful baked apple cider donuts has about 160 calories .
Not too shabby for a sweet breakfast treat, right? you get a little fiber and protein too. kinda makes you feel good about indulging, doesn’t it?
Remember, baking is all about balance—so if you want to munch on the good stuff, just be mindful of those portions.
Familiarize yourself with the per serving nutritional information and make adjustments as needed.
Conclusion
So, there you have it! tips and tricks to make your baked apple cider donuts with crunchy topping the best on the block .
From storage to variations, there’s so much you can explore and enjoy in this cozy fall baking adventure.
Next time you whip up these easy baked donuts , remember that it’s not just about following a recipe; it’s about having fun and making delicious memories too! look into in, and let these seasonal treats bring a sprinkle of joy into your kitchen and home.
Happy baking, friends!
Frequently Asked Questions
How do I store my Baked Apple Cider Donuts with Crunchy Topping?
To keep your Baked Apple Cider Donuts with Crunchy Topping fresh, store them in an airtight container at room temperature for up to 3 days. You can also refrigerate them for a longer shelf life, but be aware that refrigeration may change their texture slightly.
Can I make these donuts ahead of time?
Yes, you can prepare the batter ahead of time and refrigerate it for up to 24 hours before baking. Alternatively, bake the donuts, allow them to cool, and then store them in an airtight container. Reheat in the microwave for a few seconds before serving for the best flavor.
What can I substitute for apple cider in this recipe?
If you don't have apple cider on hand, you can use apple juice as a substitute for a lighter flavor. However, keep in mind that using cider typically enhances the autumnal flavor profile of the donuts.
Can I make these Baked Apple Cider Donuts with Crunchy Topping gluten-free?
Absolutely! You can substitute all-purpose flour with a gluten-free flour blend to make these donuts gluten-free. Additionally, be sure to check all other ingredients for gluten content to ensure they're safe for your dietary needs.
What are some variations I can try with this recipe?
You can customize your donuts by adding a maple glaze instead of the crunchy topping or incorporating spices like ground cloves or ginger for extra warmth. For a fun twist, try adding chocolate chips to the batter or dusting them with confectioners' sugar instead.
What tips do you recommend for achieving the best texture in these donuts?
To achieve fluffy and moist donuts, avoid overmixing the batter—mix until just combined. Additionally, make sure your ingredients are at room temperature for better incorporation and ensure to let the donuts cool on a wire rack to maintain their texture.
Baked Apple Cider Donuts with Crunchy Topping Card

⚖️ Ingredients:
- 2 cups all-purpose flour
- 1 cup apple cider
- 1 teaspoon baking powder
- 1 teaspoon baking soda
- 1 teaspoon ground cinnamon
- ½ teaspoon ground nutmeg
- ½ teaspoon salt
- ½ cup granulated sugar
- ¼ cup unsalted butter, melted
- 2 large eggs
- 1 teaspoon vanilla extract
- ¼ cup granulated sugar for topping
- ½ teaspoon ground cinnamon for topping
- 2 tablespoons unsalted butter, melted for topping
🥄 Instructions:
- Step 1: Preheat your oven to 350°F (175°C).
- Step 2: Grease the donut pan with cooking spray or butter.
- Step 3: In a large bowl, whisk together the flour, baking powder, baking soda, cinnamon, nutmeg, and salt.
- Step 4: In a separate bowl, combine the apple cider, melted butter, sugar, eggs, and vanilla. Whisk until well blended.
- Step 5: Gradually add the wet ingredients to the dry ingredients, folding with a rubber spatula until just combined. Avoid overmixing.
- Step 6: Spoon the batter into the prepared donut pan, filling each cavity about ¾ full.
- Step 7: Bake in the preheated oven for 12-15 minutes, or until a toothpick inserted comes out clean.
- Step 8: Allow the donuts to cool in the pan for 5 minutes before transferring them to a wire rack.
- Step 9: In a small bowl, mix together sugar and cinnamon. Brush the warm donuts with melted butter and dip them in the cinnamon-sugar mixture.
- Step 10: Enjoy your donuts warm or at room temperature.
Previous Recipe: Warm and Cozy Bake Pumpkin Cupcakes with Creamy Frosting: A Fall Favorite
Next Recipe: Cozy Spiced Citrus Apple Cider Shake: A Festive Autumn Treat
